July 2026 / 8 min read
How I Design App Workflows Before I Build Screens
A practical tutorial for turning a product idea into states, APIs, UI flows, and admin tools before touching the first widget.
Full-stack web and mobile developer
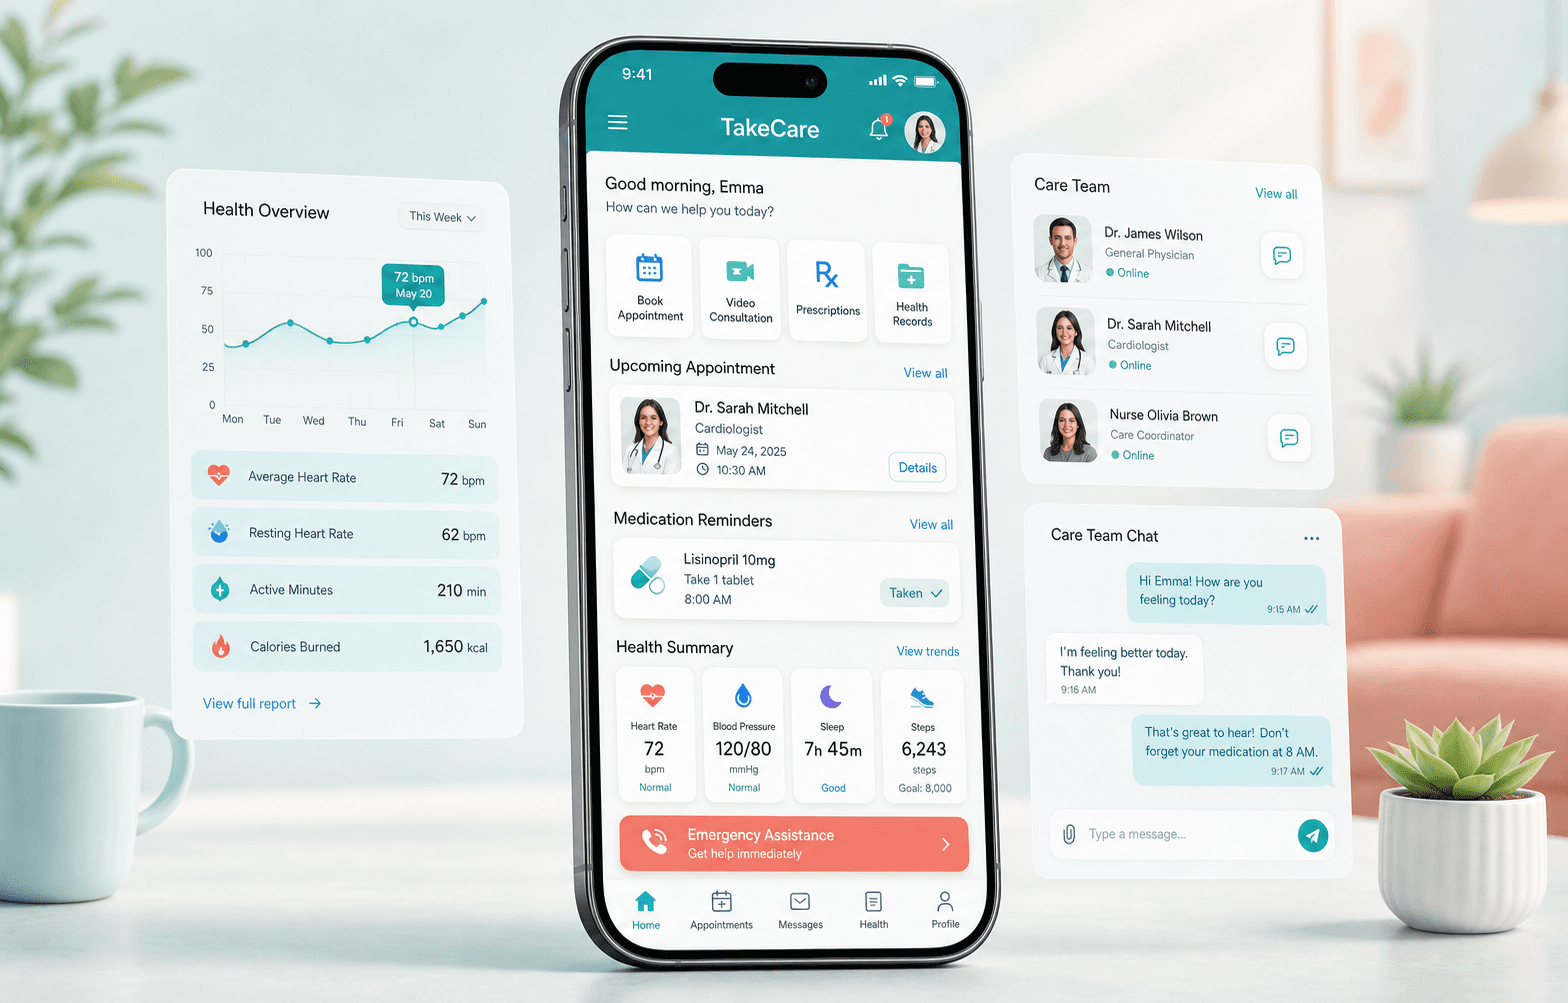
A lot of app work starts with a screen. Someone shares a design, a reference app, or a sentence like "we need appointment booking." The natural reaction is to build the visible part first. I have done that too. It feels productive because the screen appears quickly.
The problem is that screens are only the surface of a product. Under the surface there are states, actors, permissions, notifications, admin decisions, and failure cases. If those are vague, the app may look finished while the system underneath is still guessing.
This is the workflow I use before I start building a serious feature. It is simple enough for a small project, but it keeps the kind of discipline that larger products need.
1. Start with the job, not the UI
Before I write components, I write the sentence that describes what the user is trying to finish. For an appointment product, the job is not "tap a date." The job is "request care and know what happens next."
That sentence changes the feature. Now the system needs confirmation, reminders, cancellation rules, doctor availability, patient history, and a support path when something goes wrong.
Write this before designing the screen:
Who is acting, what are they trying to finish, and what does the system need to guarantee?
2. Name the lifecycle
Good product engineering depends on good names. A feature gets much easier to build when the lifecycle is explicit. For appointments, I might begin with this:
type AppointmentStatus =
  | "draft"
  | "requested"
  | "confirmed"
  | "rescheduled"
  | "completed"
  | "cancelled";

const allowedTransitions: Record<AppointmentStatus, AppointmentStatus[]> = {
  draft: ["requested"],
  requested: ["confirmed", "cancelled"],
  confirmed: ["rescheduled", "completed", "cancelled"],
  rescheduled: ["confirmed", "cancelled"],
  completed: [],
  cancelled: [],
};
This is not over-engineering. It is a small map that prevents random behavior. The Flutter app can show the correct buttons for each status. The backend can reject invalid actions. The admin dashboard can filter the queue by real operational states.
3. Turn states into screen behavior
Once the lifecycle is named, the screen becomes calmer. Instead of asking "what should this page show?", I ask "what does this state need?"
4. Design the API around actions
I prefer action-focused endpoints when the action has product meaning. Updating an appointment with a generic PATCH request can work, but confirm, reschedule, and cancel usually deserve their own rules.
POST /appointments/:id/confirm
POST /appointments/:id/reschedule
POST /appointments/:id/cancel

// Each endpoint should answer the same product question:
// "Is this action allowed for this user and this current state?"
Each endpoint should validate the current state, the user role, and the side effects. Does confirming send a notification? Does cancelling create a refund task? Does rescheduling require a new doctor availability check? These decisions belong close to the backend action, not scattered across screens.
5. Give operations a real dashboard
The customer app is only one side of the product. Real products also need people to operate them: care teams, support agents, dispatchers, judges, finance teams, or admins.
A useful dashboard is not just a table. It should show the queues that need attention, the state of each item, the allowed actions, and the history of what happened. This is where the business stops asking engineers to fix data manually.
My checklist before implementation
- Define the job the user is trying to finish.
- Name the actors: user, admin, provider, system, support, finance.
- Write the lifecycle states and allowed transitions.
- Map each state to UI behavior, empty states, and error states.
- Design backend actions around real product decisions.
- Plan the admin dashboard before edge cases become production work.
The senior part is not complexity
Senior work is often quieter than people expect. It is not adding patterns everywhere. It is removing ambiguity before ambiguity becomes bugs, meetings, support tickets, and database edits.
When the workflow is clear, Flutter screens become easier to reason about, Node.js APIs become easier to protect, and admin dashboards become useful instead of decorative. That is the kind of software I try to build: simple on the surface, explicit underneath, and ready for real use.